

How to get started
- Open the library and tap the plus button.
- Enter a journal name and choose its cover color, then confirm creation.
- Open the cover of the journal you want to write in.
- To reorganize a saved memory, use Move Entry in the entry editor and tap Done.
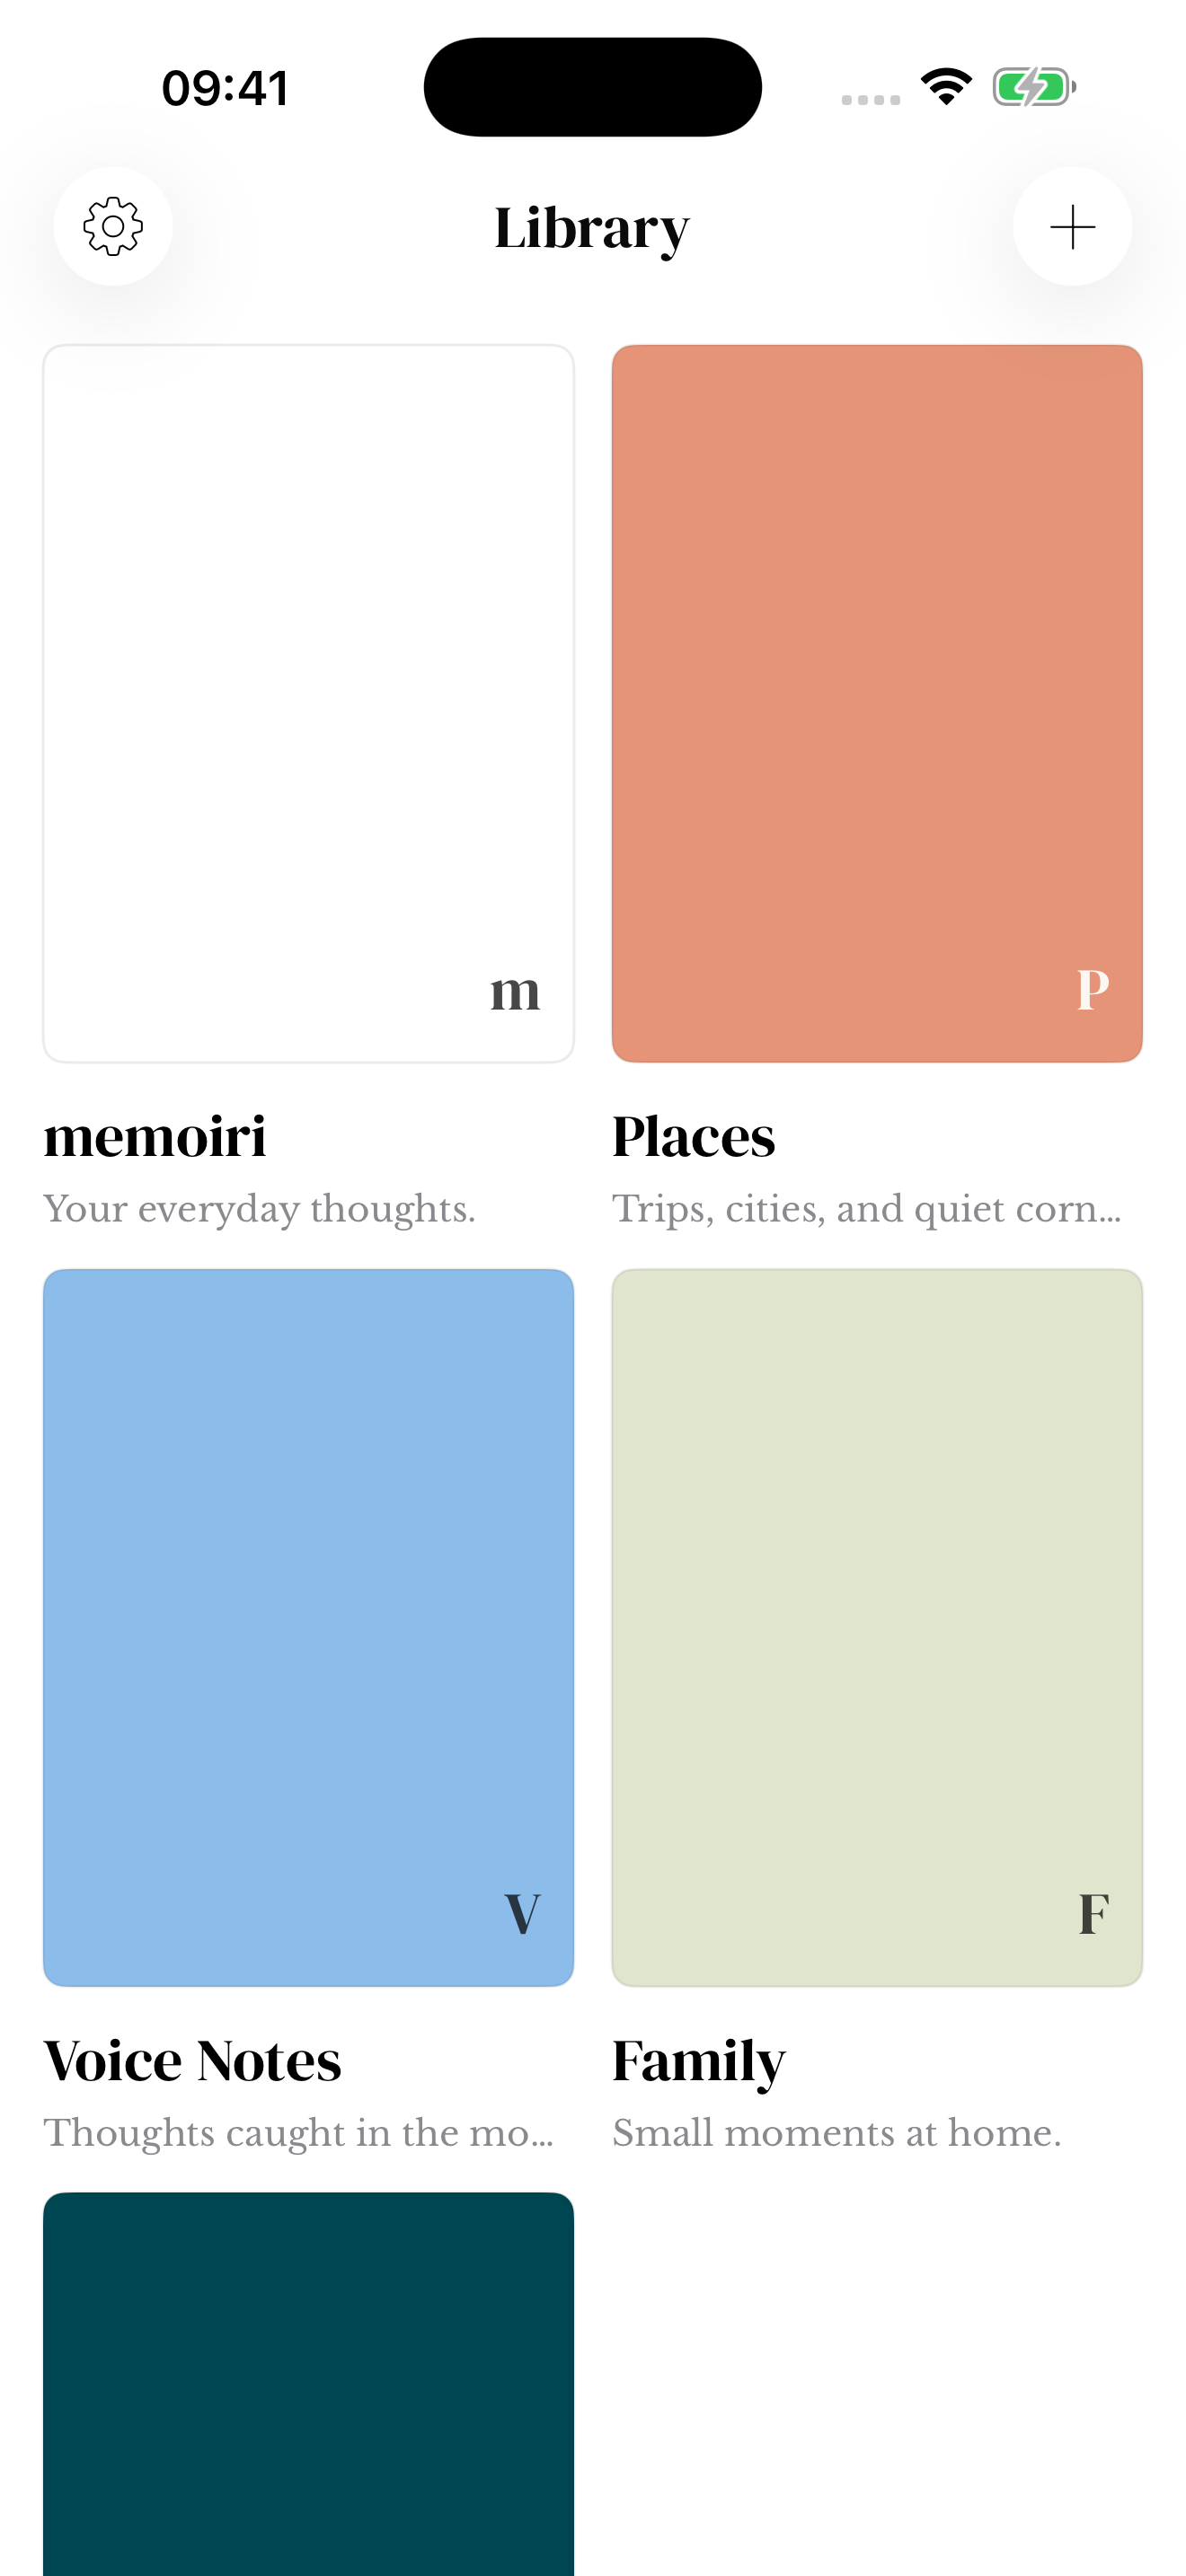
Choose a structure you can maintain
Separate journals are useful when they help you find things. You do not need a different journal for every topic; a simple structure is easier to revisit.
Check the active journal before capturing a memory. If an entry seems missing, look in other journals and review the search or Reflection scope.
Changing or deleting a journal
Journal settings let you adjust its presentation. Read the app’s confirmation carefully before deleting a journal, since deletion can affect its entries.
Export a backup before reorganizing a library in a way you may want to undo. A journal cover change and deleting its contents are very different actions.
Names, covers and journal settings
Journal settings let you change its name, description and cover. Clear names can help when choosing a destination in the library or on Apple Watch.
Before using Delete Journal, read the confirmation and keep a backup of anything you want to preserve.
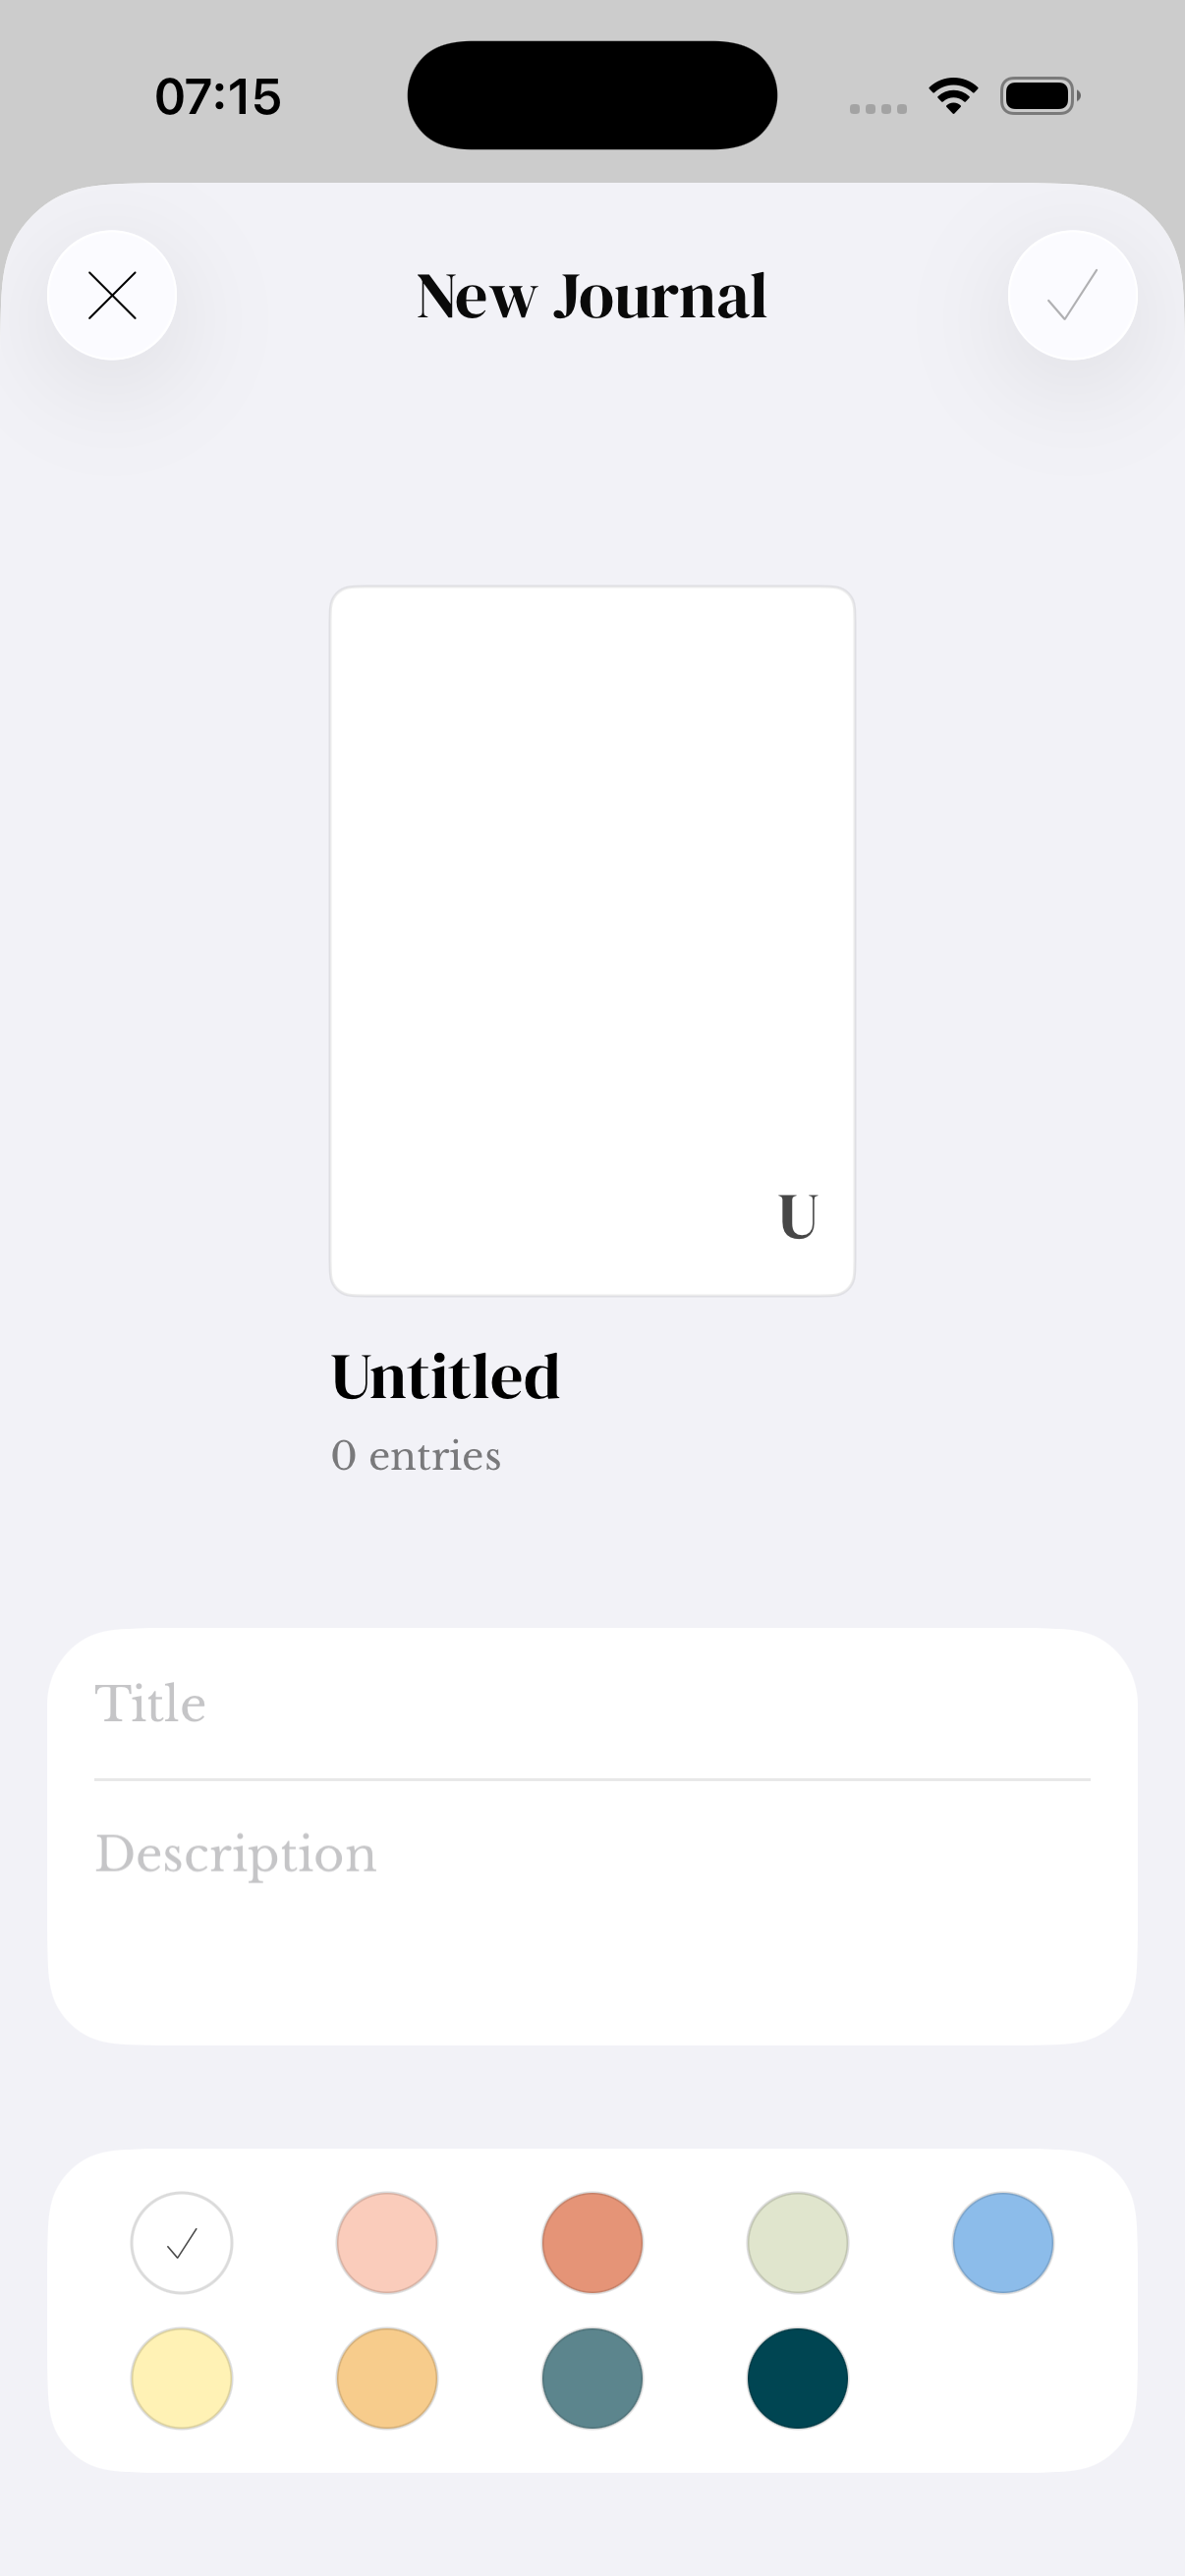
Screenshots use sample content. Labels and available controls can vary by app version and device.