

How to get started
- Create the destination journal in the journal library if it does not exist yet.
- Find the entry and tap its timestamp, or press and hold it and choose Edit Details.
- In Move Entry, select the destination journal.
- Tap Done. Open the destination journal and check the memory there.
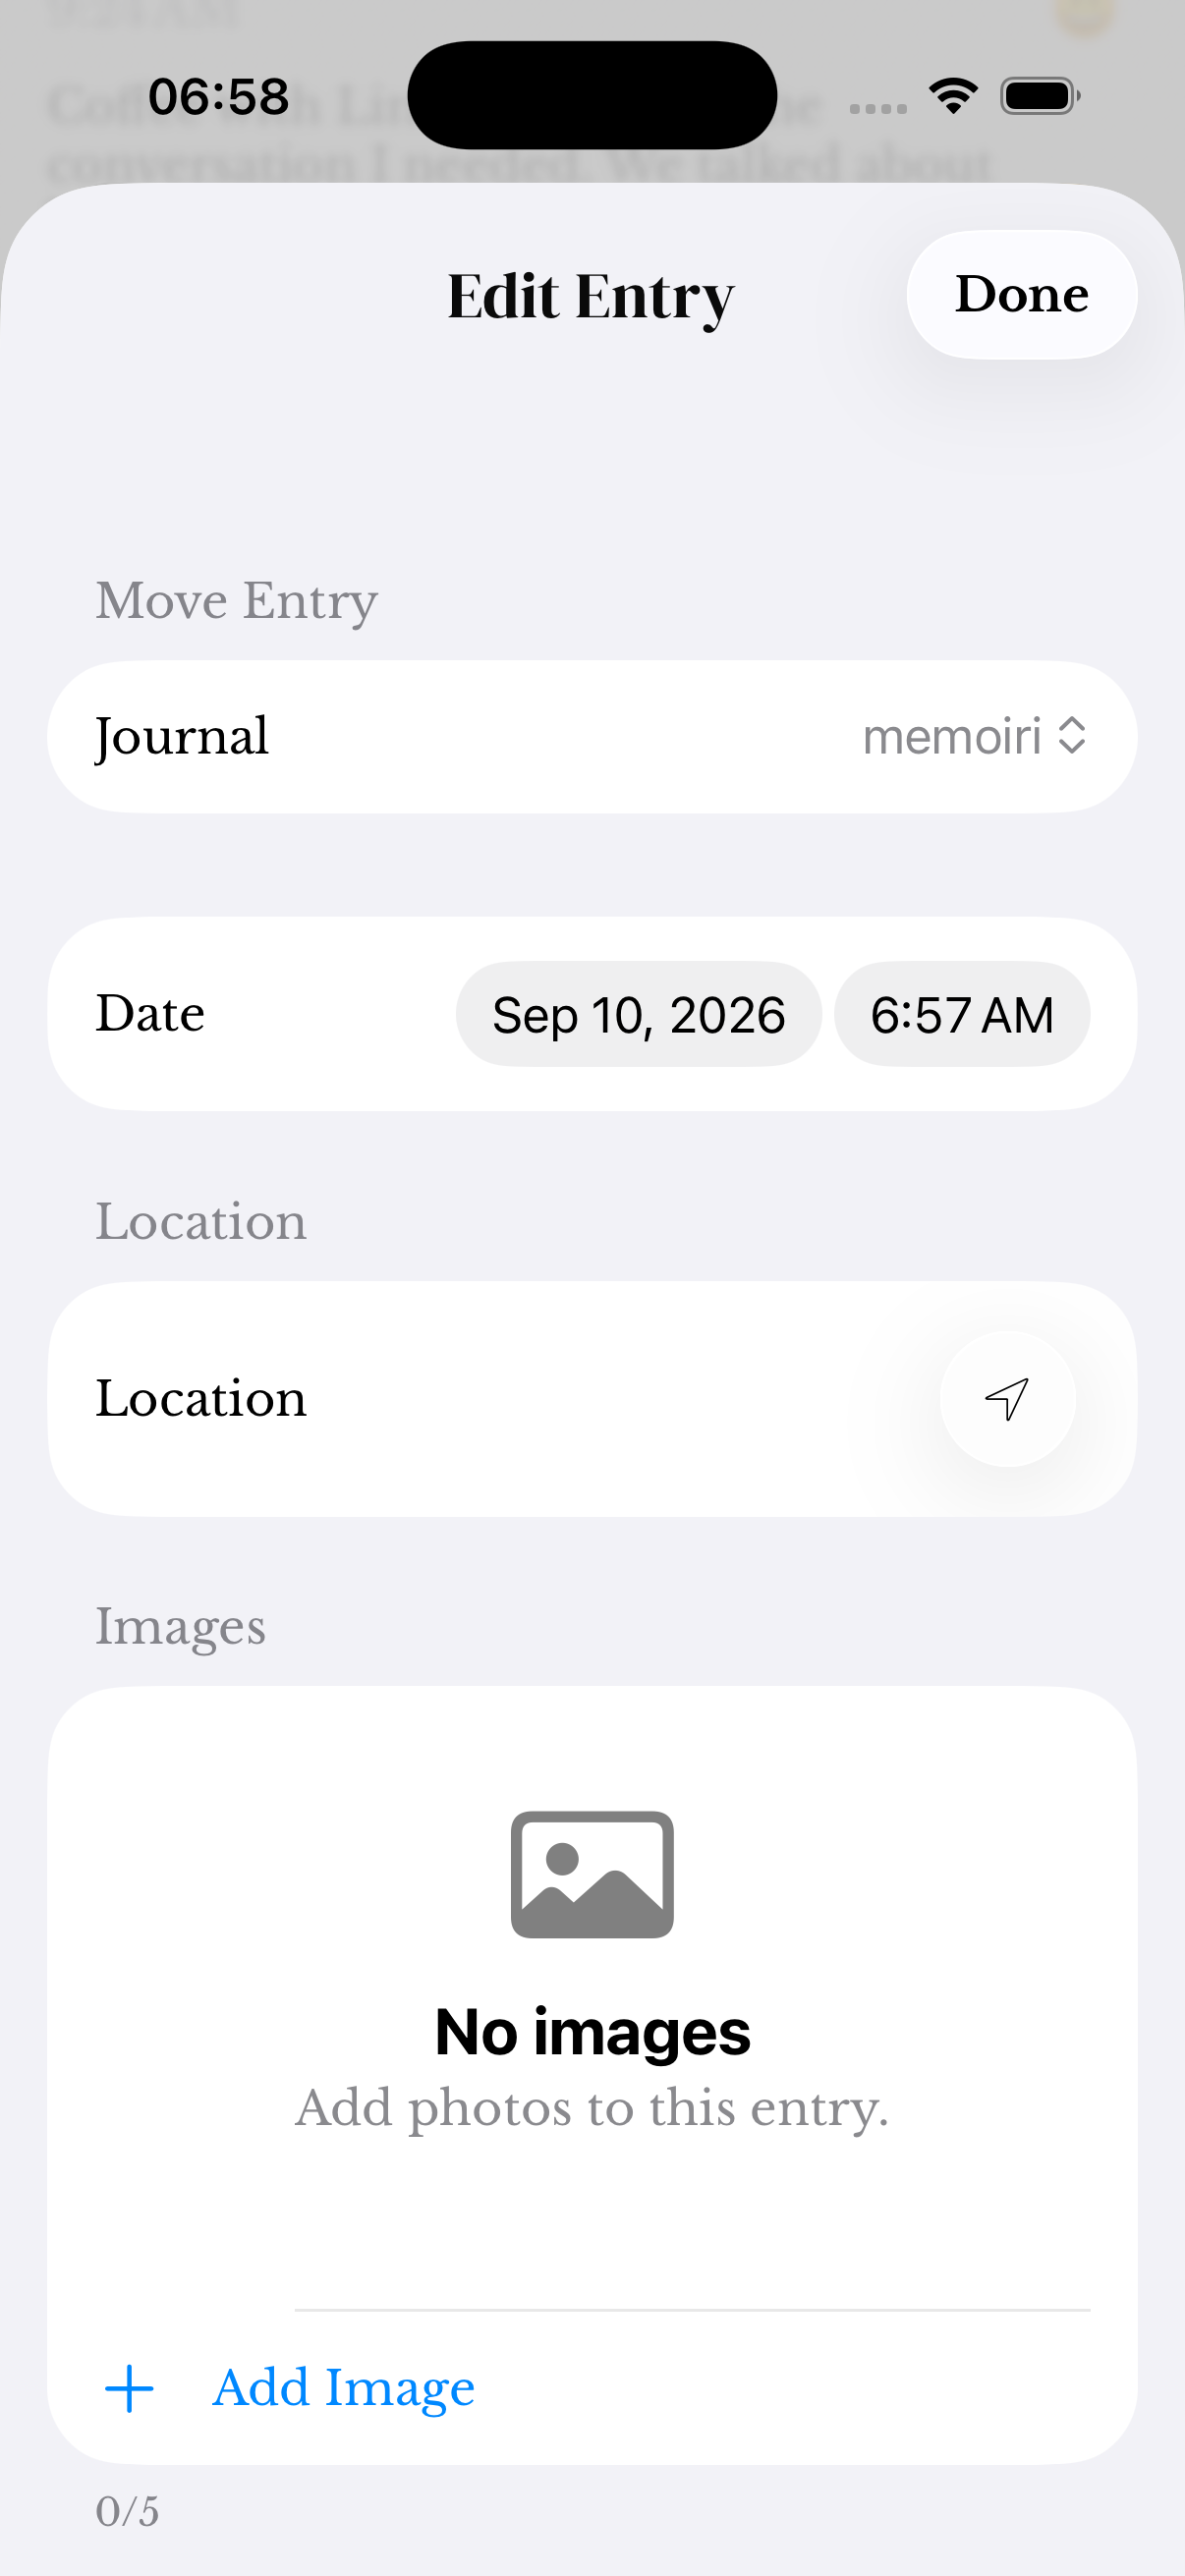
The move happens when you tap Done
Selecting a journal in the picker prepares the change; Done saves it. After a successful move, the entry disappears from its old journal’s timeline.
The memory keeps its saved text and attachments. Its date still determines where it appears within the destination timeline.
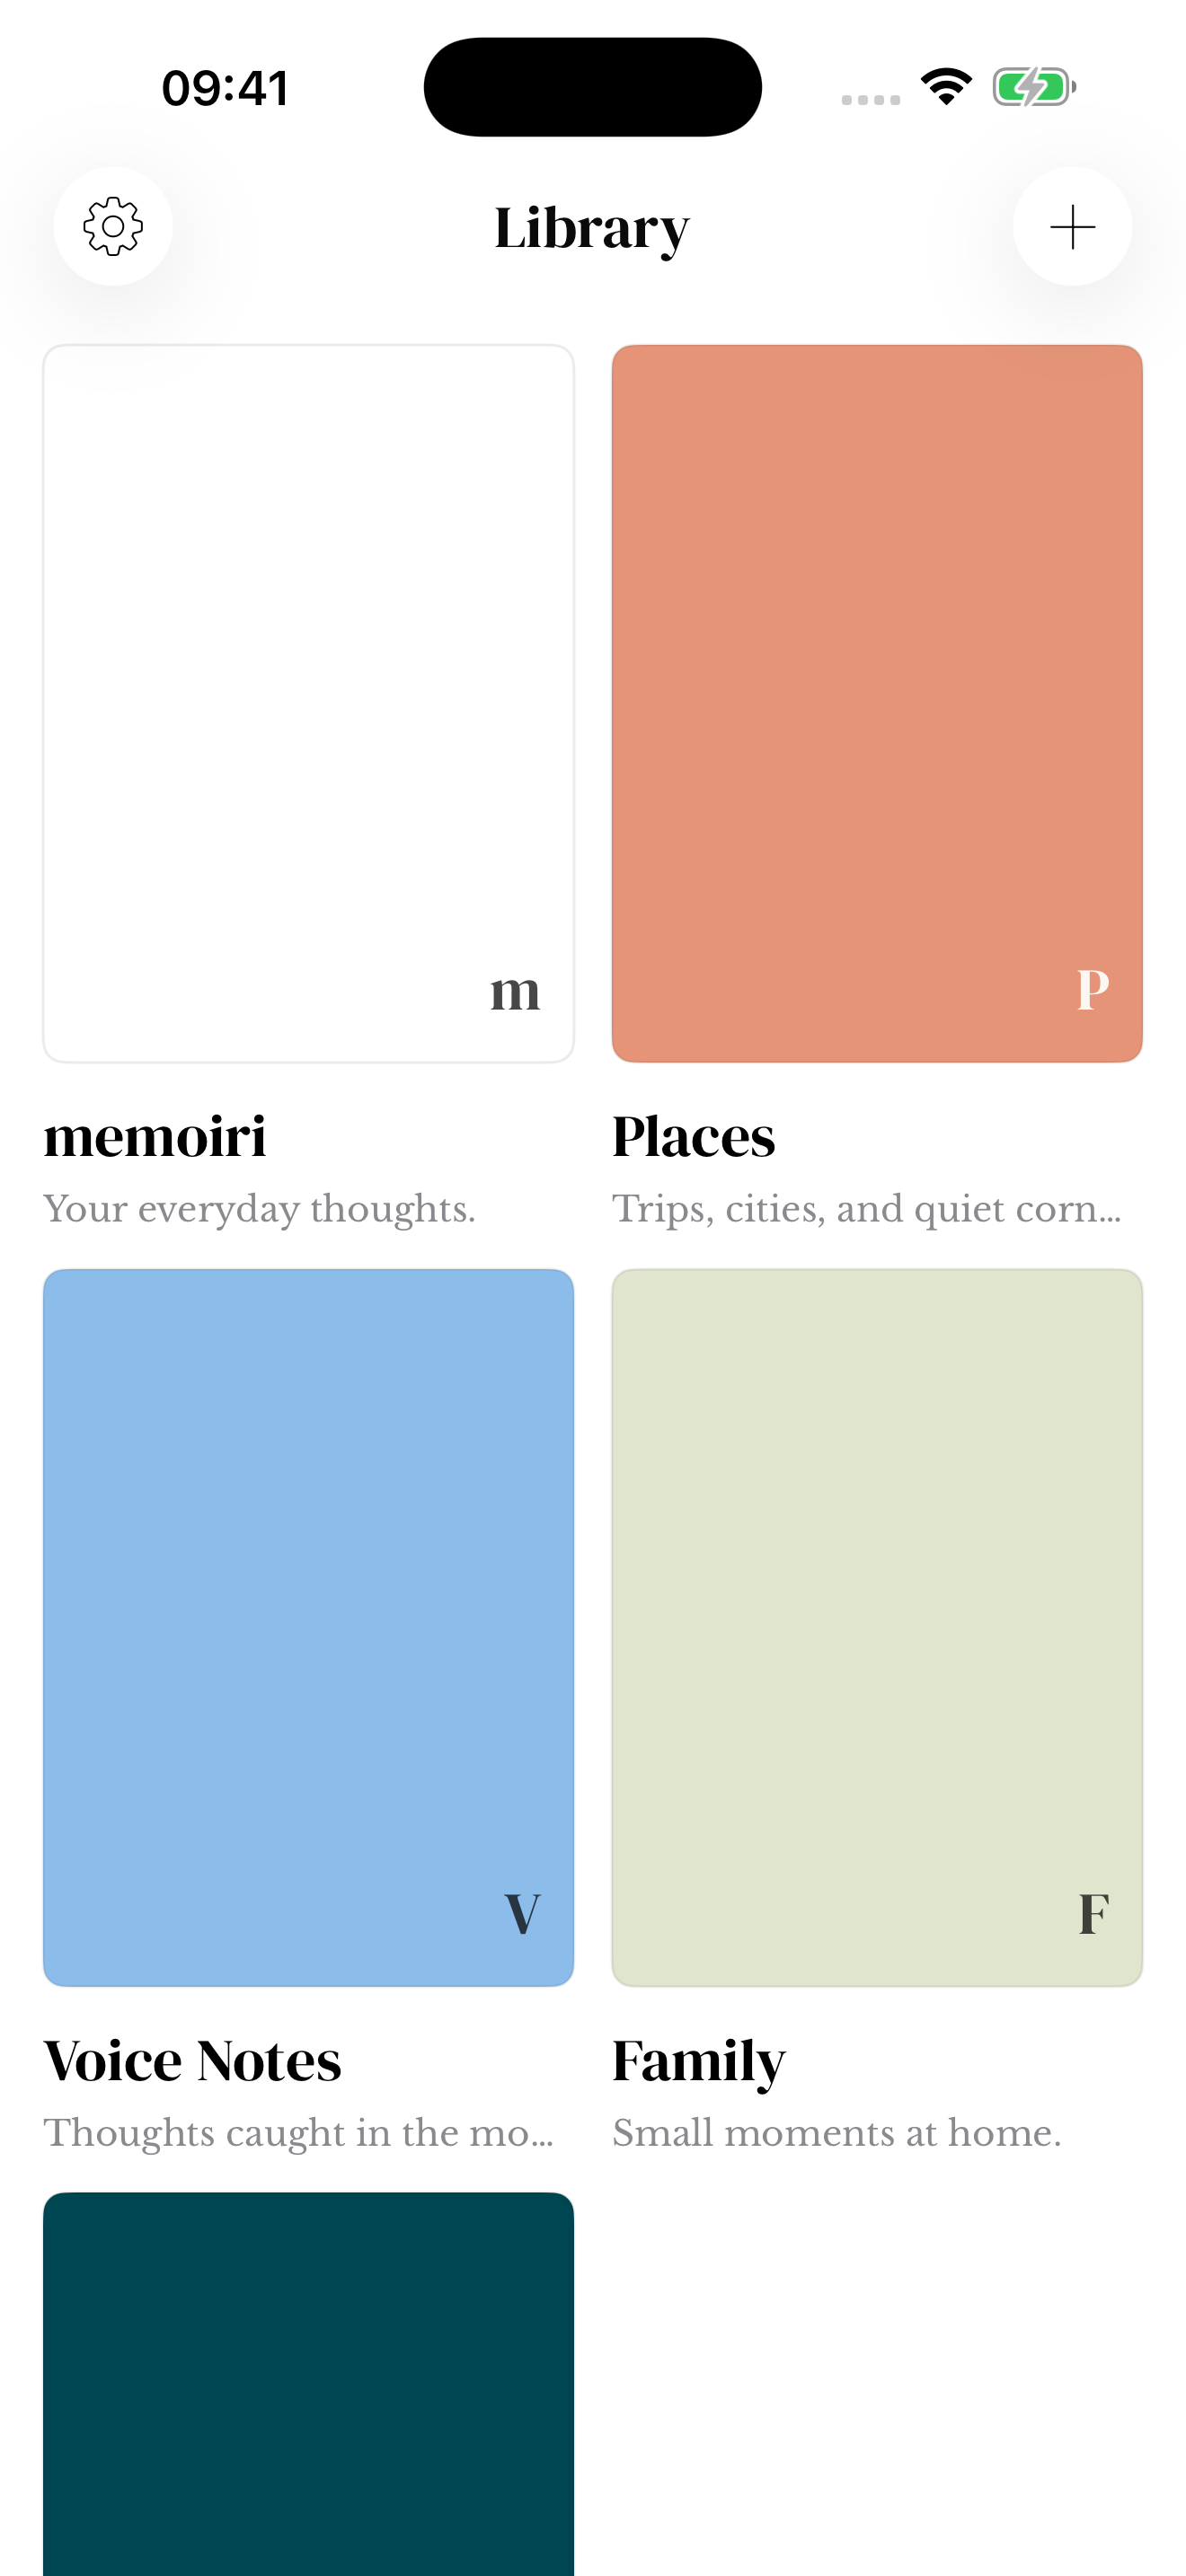
If the journal is not in the picker
The picker uses active journals. If there is no other journal to choose, create one first. Check the journal name carefully when several covers look similar.
For larger reorganizations, keep an exported backup before you start. Moving an entry and deleting a journal are different actions.
Screenshots use sample content. Labels and available controls can vary by app version and device.