

How to get started
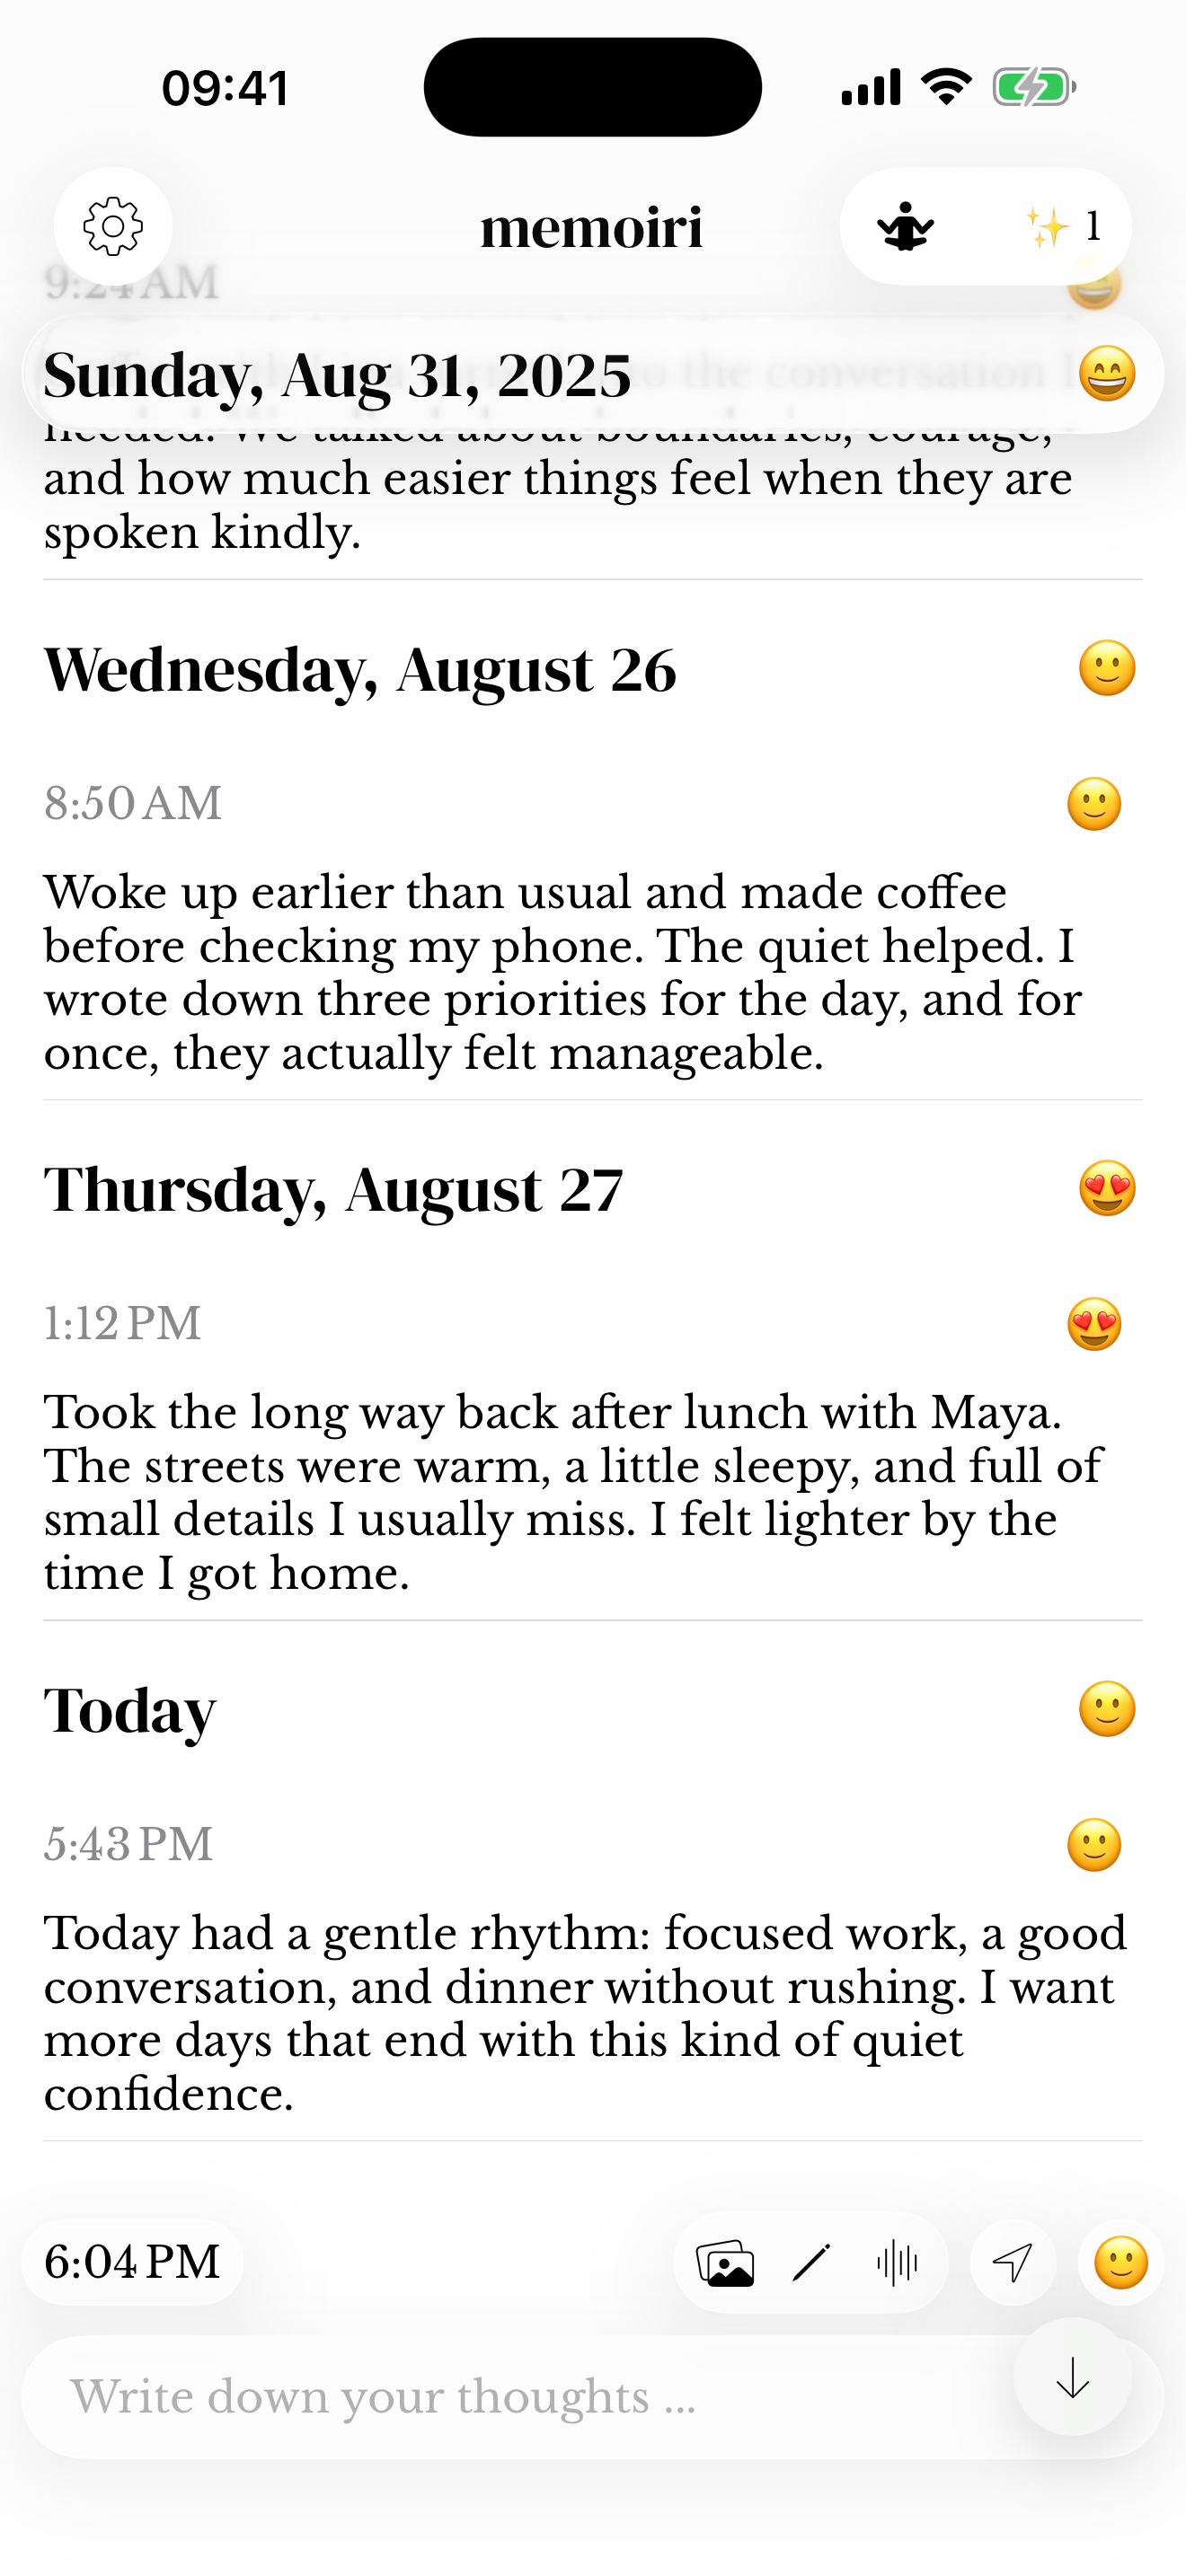
- Open the journal you want to write in and tap the composer at the bottom of the timeline.
- Type your entry, review its date and optional mood or attachments, then tap the send arrow.
- To edit saved words, tap the entry text in the timeline and make your changes. Leave the text field to finish editing.
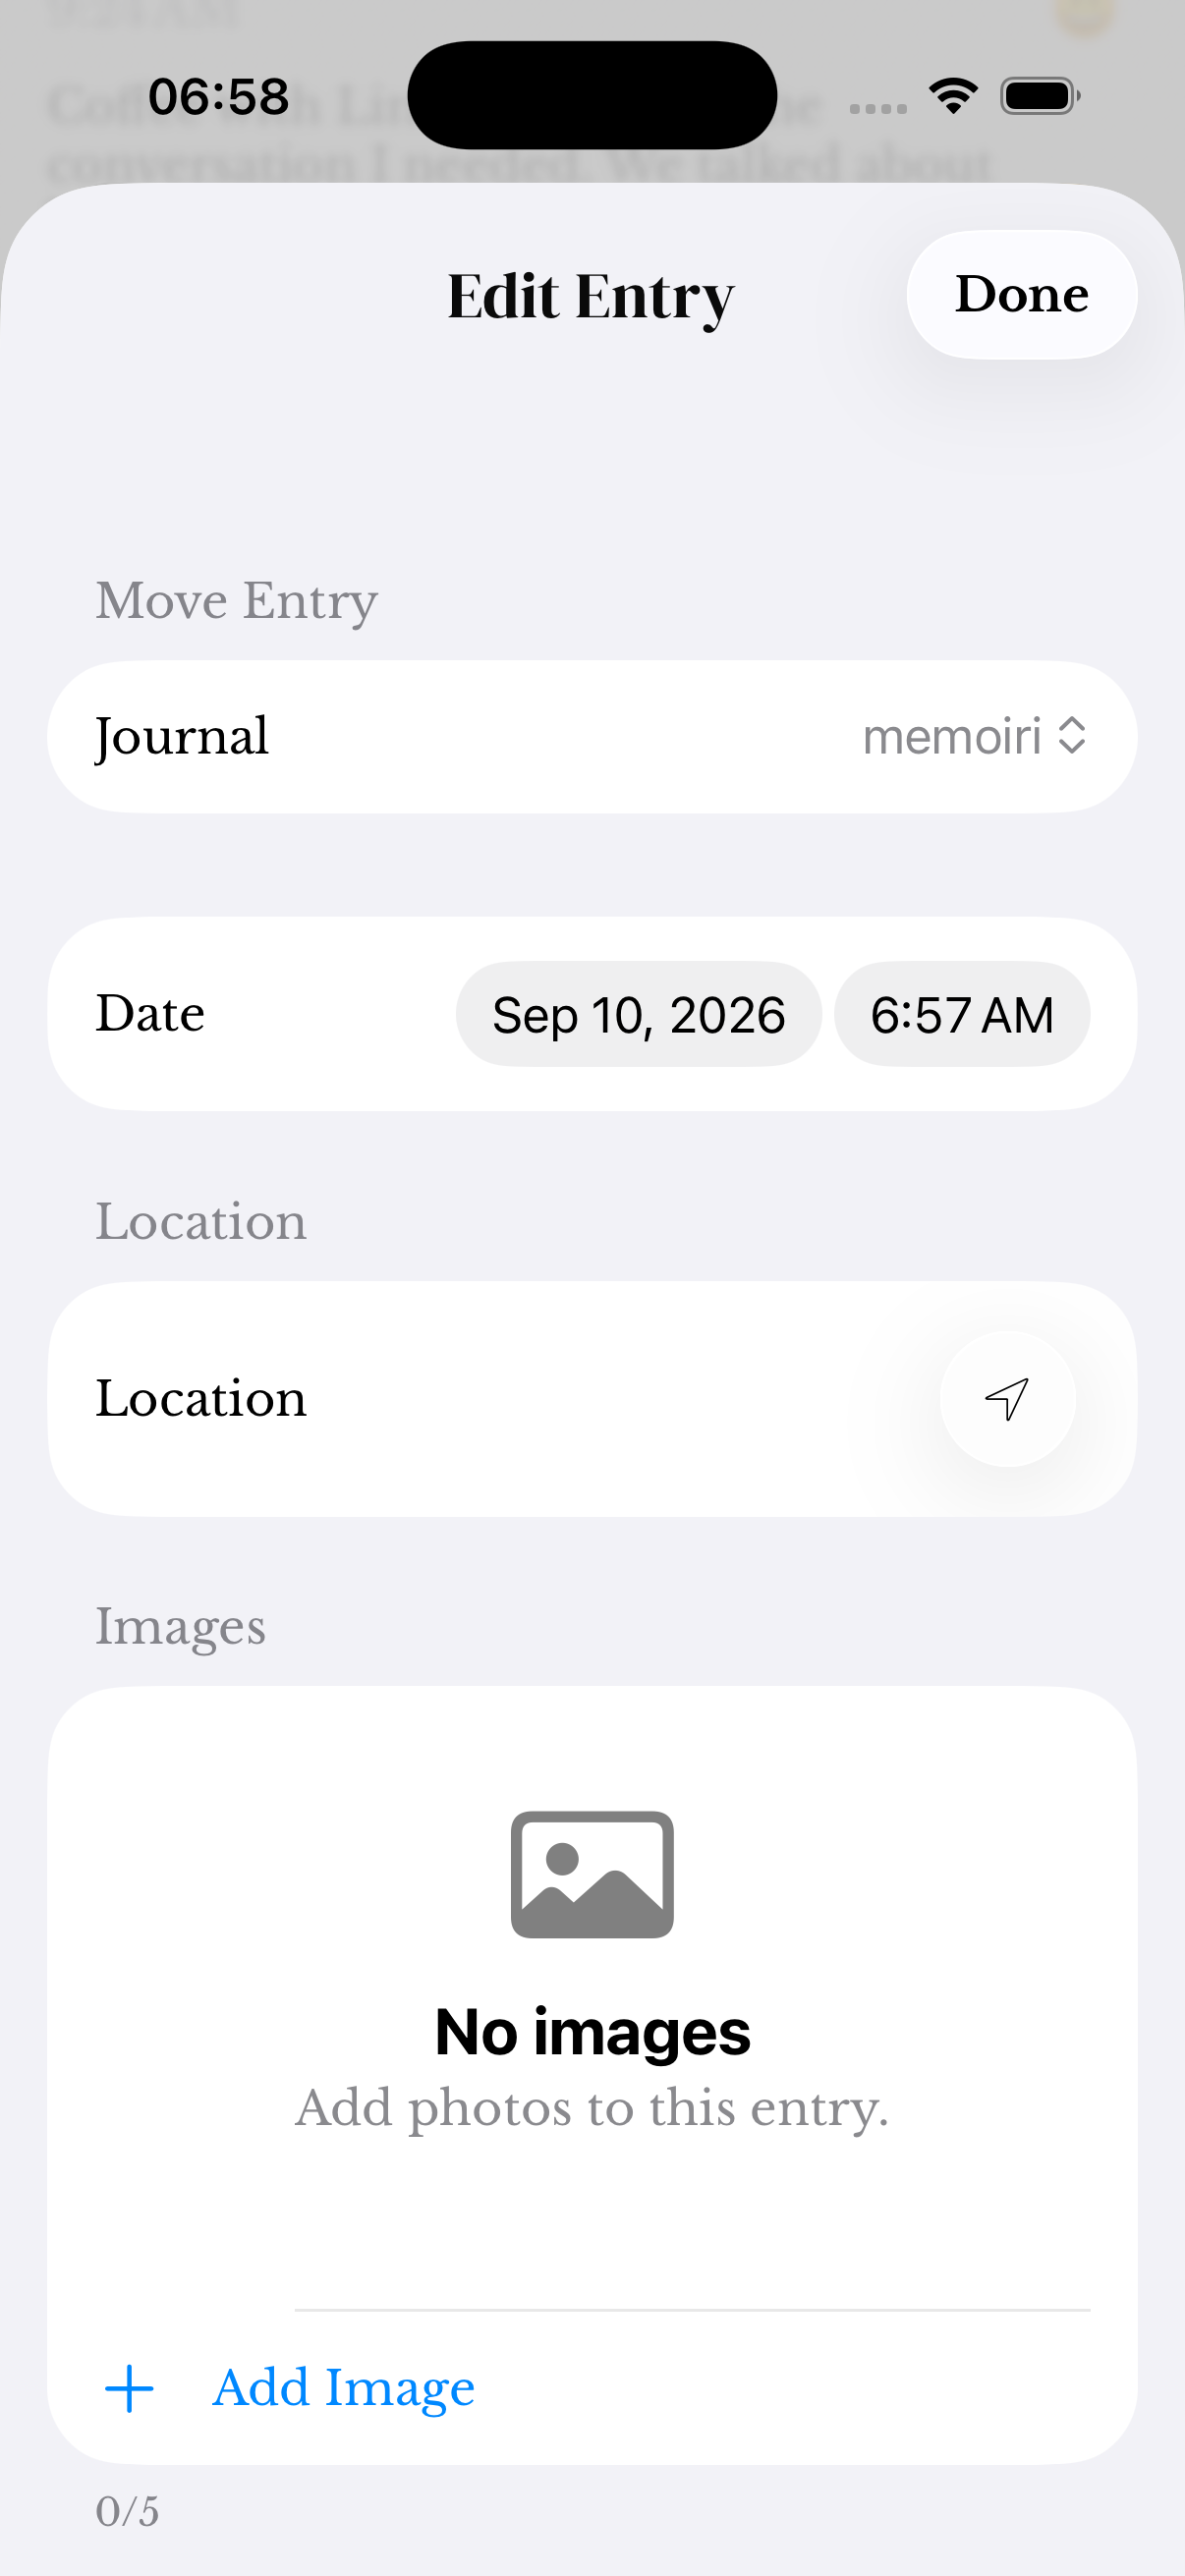
- To edit the timestamp, journal or attachments, tap the entry’s time or press and hold it and choose Edit Details. Tap Done to save those changes.
A few words can be enough
You can write several entries during a day instead of putting everything into one nightly summary. Describe a moment while it is fresh, then add another thought later.
For a small starting point, try: “Today I want to remember…” or “Something I noticed was…”. Use those examples or write in your own way.
Dates and changes
Entries are organized by their recorded dates and times. Use the available date/time controls when recording a past memory, then check where it appears in the timeline.
Editing an entry changes that saved memory. If you want to preserve the original thought alongside a new perspective, consider writing a new entry instead.
If you cannot find what you wrote
Check which journal is active and whether Search has a filter applied. Look for a distinctive word or the recorded date. For entries expected from another device, see the iCloud Sync guide.
Long entries, unfinished writing and dates
Tap the blue ellipsis at the end of a shortened entry to reveal its remaining text. You can keep both short notes and longer reflections in the same timeline.
For unsent writing, see drafts. Use entry dates to record an earlier day, and moving entries to change its journal.
Delete an entry deliberately
Press and hold the entry, choose Delete, then review the Delete entry? confirmation. Cancel if you only wanted to edit it.
Keep an exported backup before deleting memories you may want to recover. With sync enabled, deletion can also affect your other connected devices.
Screenshots use sample content. Labels and available controls can vary by app version and device.